

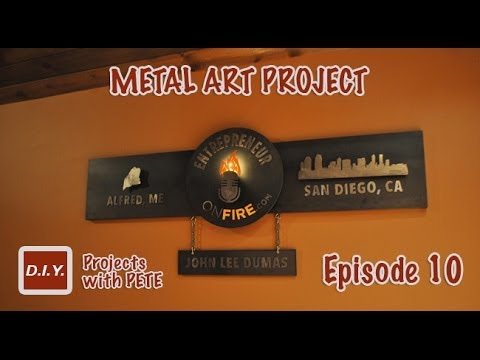
How to Make Metal Wall Art – Layered Metal Art Project for EntrepreneurONfire.com – Episode 10
DIY PETE walks you through the process of creating layered metal art to hang on your wall. This specific project was created for EntrepreneurONfire.com and shows the processes of welding and plasma cutting. Pete shows how to use threaded rod as spacers to give your metal art added dimension and character.
For more info, project photos, and downloadable plans check out:
http://www.diypete.com/eofire
I came up with an idea for the project and created it to scale in a program named Adobe Illustrator. The sign is 64 inches wide and the circle is 18 inches in diameter. I picked up 10 gauge steel for the panels on this project and used 12-14 gauge for the letters. I also purchased 1 inch square tubing to frame out the piece. The total cost for steel was right around $95.
Next, I created stencils using my vinyl plotter. This is seriously one of the handiest pieces of equipment and if you are into metal working you’ll be able to create any stencil you’d ever need. I got my Graphtec 24″ vinyl plotter.
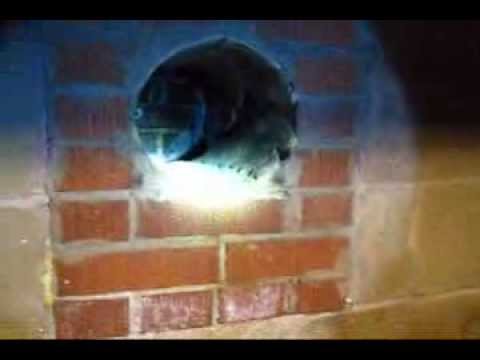
Time to get out the plasma cutter! This tool is a blast to use and is very easy to master. You just have to follow the lines you drew and make sure to hold the tool as steady as possible. I used the Hobart 250CI plasma cutter that simply plugs into a normal 110V wall plugin.
After applying the decal I traced around each letter and design using a sharpie marker. This gave me a good visual to follow with the plasma cutter. Make sure to remove the decal prior to cutting because it will burn up and stick to the metal.
After the designs and letters are cut you’ll want to remove the slag. I typically use an angle grinder with a flap or grinding disk for this process. You can also chip away slag using a hammer and metal chisel.
I decided to give all the letters and designs a bright polished look. To remove the greasy film on the metal I soaked the letters in muriatic acid. Let them sit for about 10 minutes and then rinse in water with a little baking soda to neutralize the reaction. Pat dry with a clean rag. Dry them as soon as possible because they will rust quickly if you don’t. Once dry, use a 100 or 120 grit flap disk to polish up the metal and smooth out any rough edges. Always wear rubber gloves and a respirator when working around muriatic acid. It’s dangerous stuff.
I tack-welded bolts on the back of the circle and then screwed 2 inch long pieces of the threaded rod into each. Next, I cut 3/4 inch tubing to go around the perimeter of the back panel using a chopsaw. I used a 1/2 drill bit to put holes in the back panel to put the threaded rod through and attach the multiple layers.
Prior to attaching the cut-out letters, I put stencils down and traced around them with a pencil. After tracing, you’ll want to remove the stencil. The pencil lines were helpful for making sure I glued the letters in the correct spot in the next step.
Prior to bolting on all the layers, you’ll want to seal the project using a metal sealer. The Rustoleum brand sealer was dry to the touch in a couple minutes. The sealer will darken the metal a bit.
—-
Looking for more DIY videos? Be sure to check out our channel and subscribe for updates! We post a weekly tutorial every Thursday.
Looking for woodworking, concrete working, and other DIY projects plans to follow? You can download plans for free at http://gumroad.com/DIYPETE
Facebook: http://facebook.com/DiyProjectsWithPete
Instagram: http://instagram.com/diypete
Pete Sveen
1627 W Main Street Suite 182
Bozeman, Montana 59715

About The Author
You Might Be Interested In


Comment (0)
LEAVE YOUR COMMENT
You must be logged in to post a comment.
Pete, this is absolutely incredible! I love it. Was this a project that JLD commissioned or something you decided to do?
bravo!
What wall thickness did you use for the 1" square tubing?
Great work man. Can you tell me which vinyl cutter you use? Are you happy with it?
Try a circle burning attachment for your plasma cutter…………
Great stuff as usual Pete!! Have you looked into a less expensive way to make shapes besides vinyl printer? Seems very expensive way to make shapes.
I absolutely love your work. I wish I had a CNC for my powerplasma so that I could make intricate letters and designs. I guess I will stick with freehand until then.
You've got a really steady hand. My powerplasma abilities would come short on cutting out those small letters.
I've got to try this with my everlast plasma cutter. Great work on that sign. I'm sure the customer is very happy.
You need to invest in a plasma table