


Tile Floor Installation: How to Prepare and Lay Tile | The Home Depot
Tile installation is a great way to transform any living space, and we’ve got every step and tool you’ll need to complete the project.
#TheHomeDepot #HomeImprovement #DIY
SUBSCRIBE to The Home Depot: http://thd.co/2iib0HE
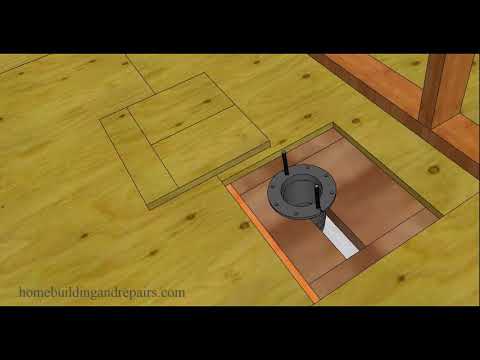
Before you work through tile floor installation, you must ensure the subfloor is appropriate for floor tiling. Once that is secured, you can begin tile floor installation by measuring the area, finding the middle spot in the room and installing tile floor from that spot outward.
About The Home Depot:
How doers get more done. We’re helping doers in their home improvement projects. Now you can take on more renovation projects with more know-how. Our step-by-step instructional DIY videos and expert advice will give you the confidence for your next project with hands-on learning. It’s a good time to be a doer.
Follow The Home Depot:
WEBSITE: https://thd.co/TheHomeDepotSite
FACEBOOK: https://thd.co/TheHomeDepotFacebook
TWITTER: https://thd.co/TheHomeDepotTwitter
INSTAGRAM: https://thd.co/TheHomeDepotIG
PINTEREST: https://thd.co/TheHomeDepotPinterest
Tile Floor Installation: How to Prepare and Lay Tile
https://www.youtube.com/user/homedepot


About The Author
You Might Be Interested In


Comment (0)
LEAVE YOUR COMMENT
You must be logged in to post a comment.
No setter that I have worked with would start in the middle of room, especially the faster ones. Most use boards for straight cuts because it is faster and cleaner. Twisting when you push down on the tile could cause air pockets leaving tile unsupported and more likely to break under impact loads, like a dropped pan. You go perpendicular to the grooves of mortar. What direction you smear is affected by the tile. If one side is shorter, go short side to short side, so air doesn't have to travel as far to get out. Minimum mortar coverage varies some, but TCNA guidelines are never less than 80% for dry application and 90 or 95% percent for wet applications. Plus some other one I don't remember off the top of my head
thanks. great video. not as worried about getting job done now.
Don’t tile around the cabinets; remove the cabinet, tile, then reinstall. Also, skip the annoying chalk line and invest in a multi-planer laser level/measurer. This will find the center of the room and project squares on the floor
I would recommend installing the anti-fracture membrane to avoid crack reduction.
your demo guy didn't back butter that first tile. that's why he didn't get the desired coverage
I'll hire an expert. I just got my deposit back on my rent and im use my 10% discount at lowes. Im one for small details and if you're buying/selling. You can be severely punished for a crappy job
I haven't even got my mortgage yet and I'm already figuring out if I can re-tile the floors of my non-existent house by myself
Any tips on how to Measure for a corner cut tile? for example like 10:02
nice