


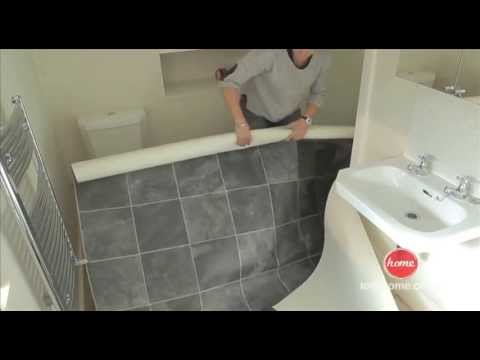
DIY: How to fix a dripping tap
DIY: How to fix a leaky tap – with Philippa Tuttiett. Visit http://www.lovehome.co.uk for more DIY, decorating and design ideas.
(Visited 16,964 times, 1 visits today)

About The Author
You Might Be Interested In


Comment (0)
LEAVE YOUR COMMENT
You must be logged in to post a comment.
95% OF HOME OWNERS DO NOT HAVE THAT TYPE OF VALVES BACK TO SQUARE ONE
Thank you! A question, how do you loosen this stuck piece (2:23). I tried so hard but it won't loosen, and it's quite round, I can't use spanner.
Help. This mechanism looks similar to mine and I have changed a new washer a few weeks ago that is in short time back to how I found it. It has been changed a few times before my recent effort. In changing it I noticed a notch inside the hole where the mechanism goes that the surface the washer seals on. It seems to me like something is supposed to be in that spot converting it to a consistent sealing surface. As is the notch would provide a way for water to escape hence the constant dripping and the fast wearing washer. Basically as is you need to turn down the tap so tight to fill the notch gap that the washer can't survive very long and is not even very effective when new. Anyone know what this missing piece might be called?
The pipes are so old in my place, I'm afraid to shut off the water valve, in case the valve will start leaking
What if there is no screw on the top of that opener :((
Why ALWAYS the easiest thing is the HUGEST difficult one? Where the hell can I find the cock to cut the flow? It's not under the handwash basin, neither anywhere in the bathroom; could it be downstairs under the sink? OUTSIDE close to the watermeter?
Hi seemed to me you put the isolation valve into flow (slot in line with valve) and then to turn it back on, you turned the valve to shut (at 90 degrees to the valve)???
I will follow the steps in order to fix my leaky hot-tap in my bathroom.
Thank You….
Thank you ; You were so thoroughly explaining it so well . Appreciate you’re insight .